Step 1: Start by purchasing the pro version for $100+ for the year. Have your graphic designer build your “Brand Kit” and create fool-proof plug and play designs so you don’t have to harass her about every one-off idea you have.
Step 2: Spend a week or so moving things around and trying to “organize” everything, when in reality you are just losing everything that you’ve ever loved.
Step 3: Now the fun begins.. Start creating your design only to realize it’s the wrong size and you have no idea how to correct it.
Step 4: Start over with the “generic label” that was given to you. You really can’t screw this up. It’s ok to leave a few elements out because you don’t understand layering. Actually, go ahead and remove the background too. We will add this back at the end.
Once your design is complete, save as a PDF!
Step 5: Upload PDF design back to Canva.
Step 6: Re-upload PDF design to Canva.
Step 7: Re-upload PDF design to Canva.
Step 8: Try uploading your PDF design to Canva one more time… Ok that’s not working.
Step 9: Ok, lets try downloading the file from Canva as a JPEG.
Step 10: Upload JPEG back to Canva. Ok, that looks promising.
Step 11: Start a “new design”, I just needed a standard blank page to tile my label onto, so I chose “magazine cover” as my new design because it is 8.5 x 11.
Step 12: Pull your JPEG label over to your page to tile for printing. Copy and paste your design as many times as necessary to fill the page to your satisfaction. Drag the designs around so the layout is just how you like it. I can fit 5 labels to a page, but that will vary depending on the size of your design and layout.
Now the fun part!
Step 13: Time to pick a background! Wow! There are so many pretty options! Solid colors, florals, geometric shapes, and textures! Remember, one of the many reasons we paid for Canva Pro was for all of these beautiful options! Select your background and pull it into your design. Adjust the background by pulling the sides and corners to fit. Fumble around and figure out how to flip it. Once you have it centered, right click on the background and click “layer”, “send to back”… Oh wait, nope… Right click and select “bring forward”… Nope… “Bring to front”, “send to back”. Repeat
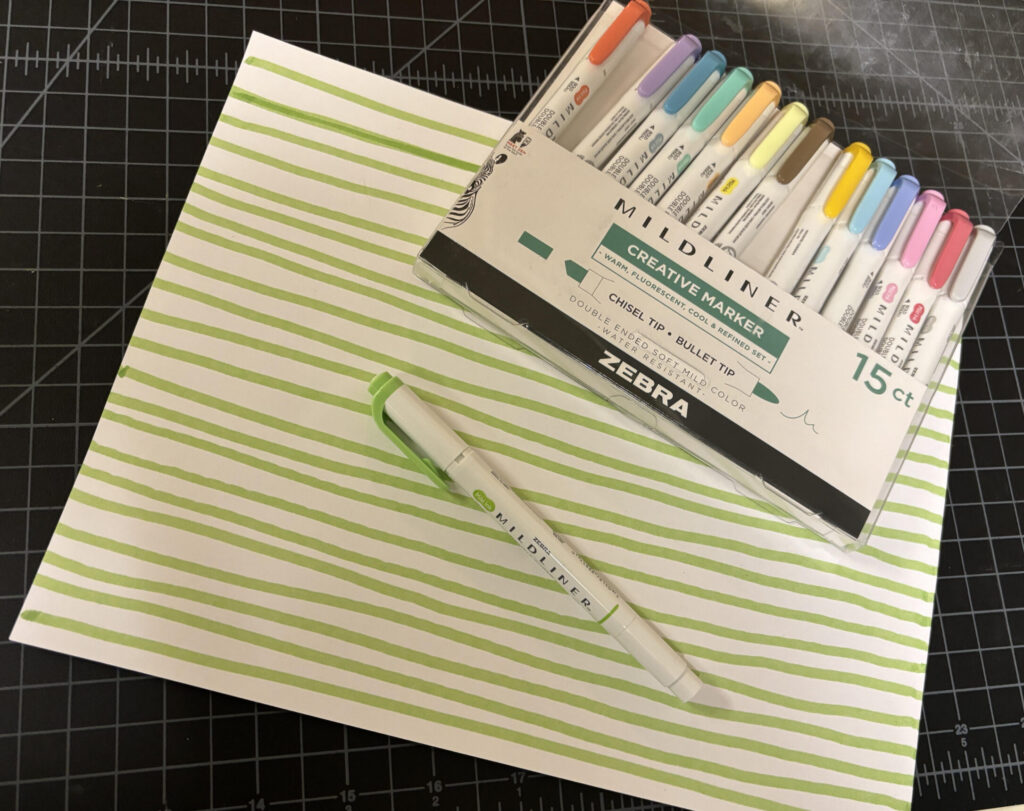
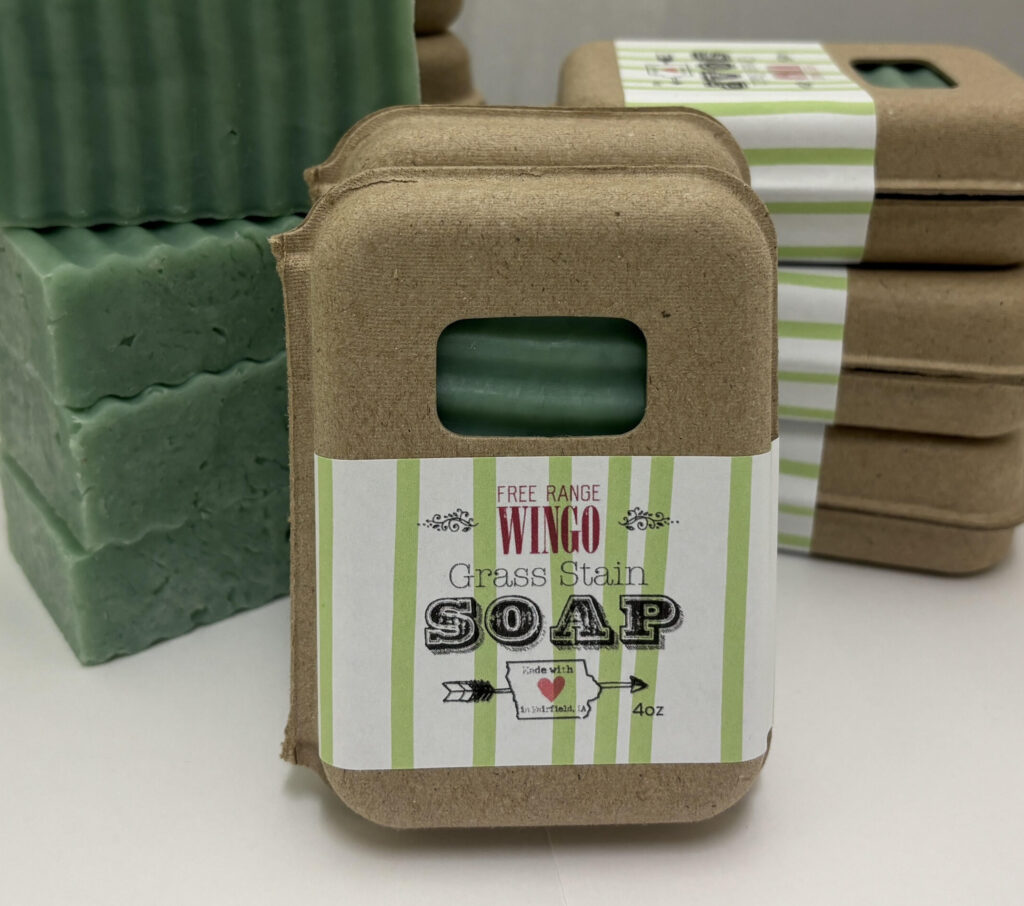
Step 14: Remove background on your Canva design. Go ahead and save your backgroundless design as a PDF on your computer.
Step 15: Grab your favorite markers and your blank label paper and start draw a simple design. I just drew green lines down the 2 pages that I would be printing my labels on. Load the paper with your hand drawn background into the printer for printing. I like a full sheet of label paper. Like, an 8.5 x 11 sticker back sheet. This label paper has no pre-cut lines because I can’t be trusted to line things up properly for printing and can only be trusted to cut each label by hand.
Step 16: Open file from downloads folder, select “file” then “print” (BTW your ink is low)
